
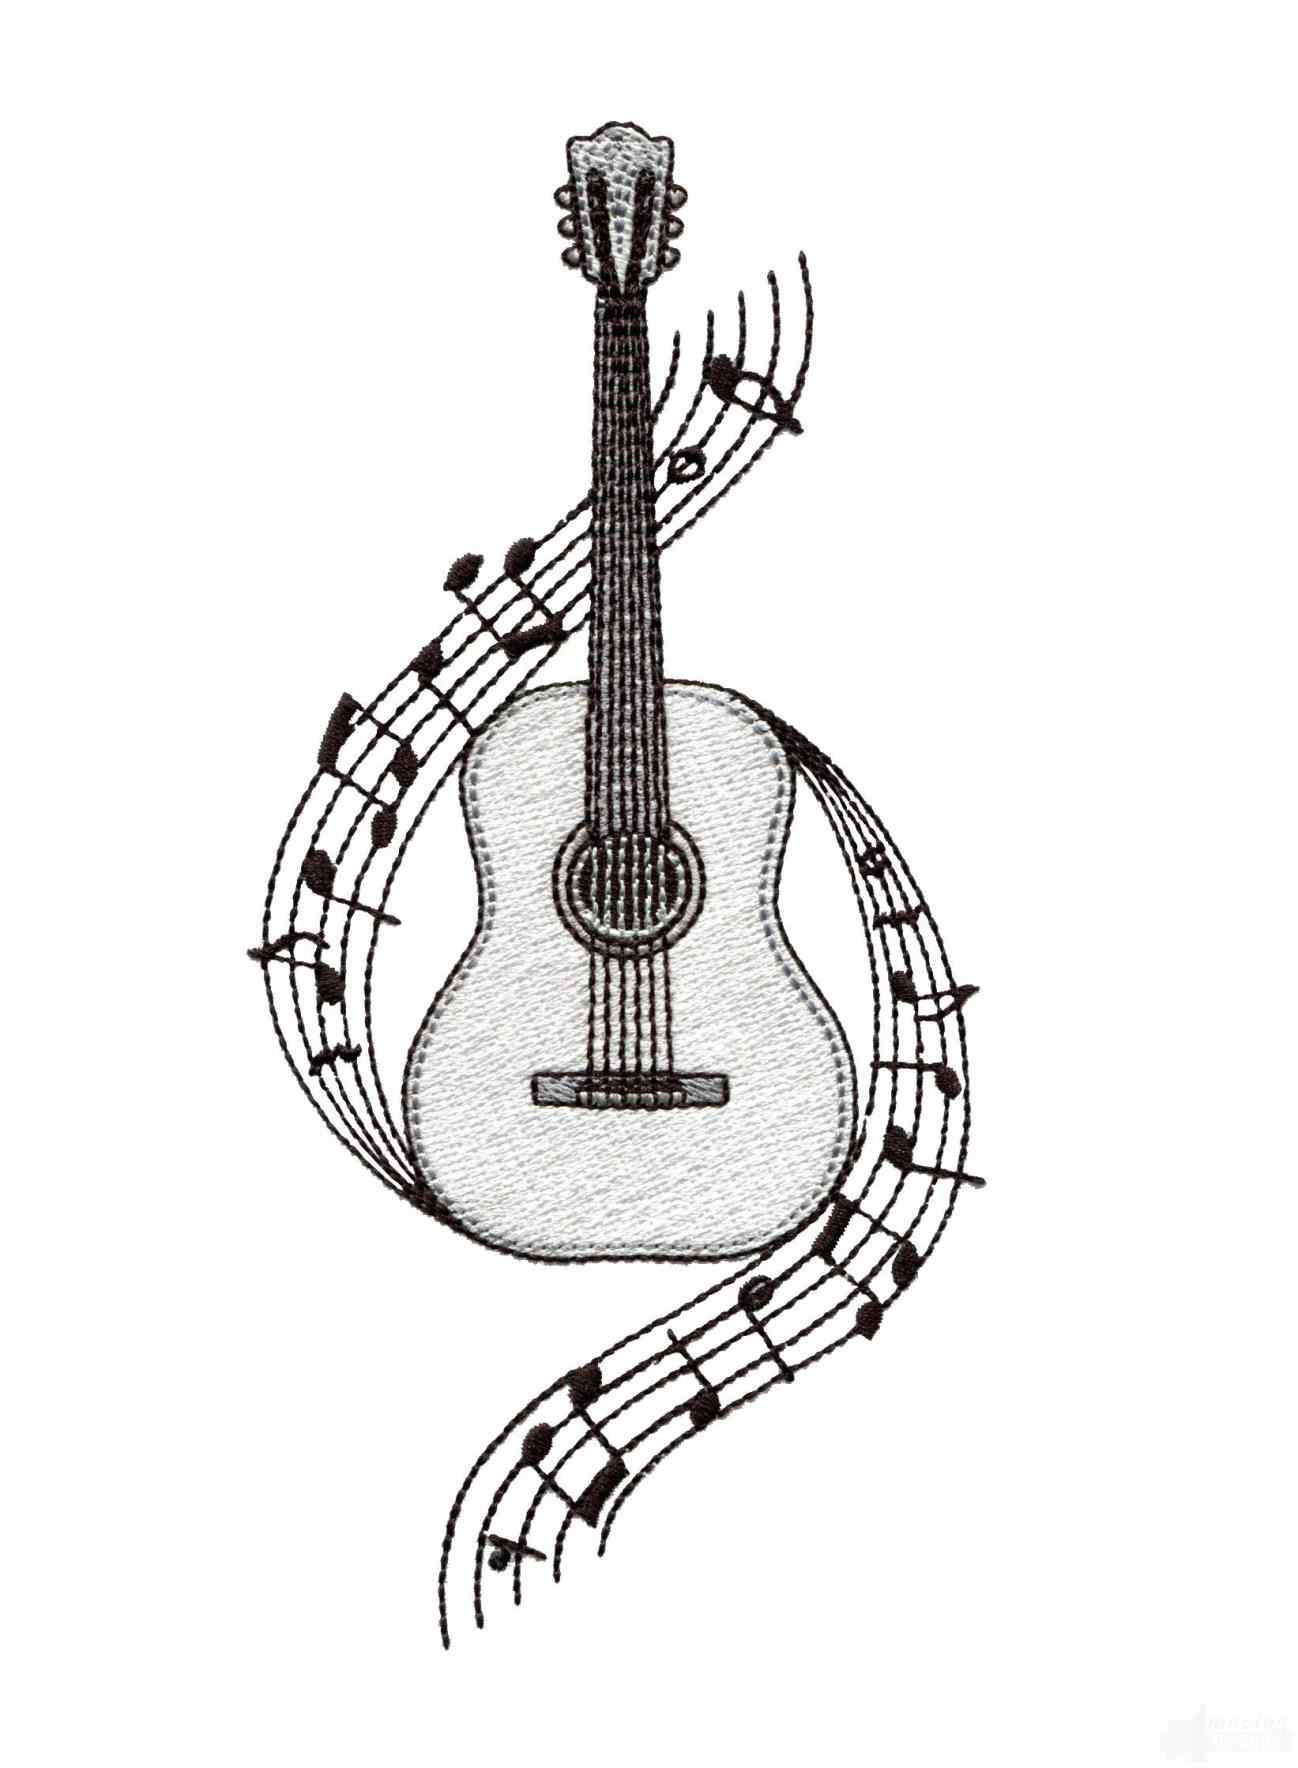
Master The Art Of Guitar Drawing: A Beginner’s Guide To Rock Your Sketches
Let’s face it, guitar drawing can be a game-changer for your artistic journey. Whether you're a beginner or someone who just loves the idea of sketching one of the most iconic instruments in music history, this guide will take you through every strum-worthy detail. So grab your pencil, not your pick, and let’s dive into the world where art meets rock 'n' roll.
Drawing guitars is more than just putting lines on paper; it’s about capturing the essence of an instrument that has defined generations of music lovers. From classic rock to modern-day hits, guitars are everywhere, and so is the desire to sketch them. But don’t worry if you’re new to this—this guide is here to make sure you don’t hit a sour note.
We’ll explore everything from the basics of understanding guitar anatomy to advanced techniques that’ll make your sketches pop. So, if you’re ready to create masterpieces that resonate with the soul, keep reading because we’ve got all the chords you need to play this right.
- Fat Black Kid Breaking Stereotypes Celebrating Diversity And Understanding Their Journey
- Woman Kicks Man In The Balls The Shocking Truth And What It Means
Why Guitar Drawing Rocks: Understanding the Appeal
There’s something undeniably cool about guitars. They’re not just instruments—they’re symbols of freedom, creativity, and passion. When you decide to dive into guitar drawing, you’re not just learning how to sketch an object; you’re tapping into a cultural phenomenon that’s been around for centuries. Here’s why it’s worth your time:
- Guitars have a timeless design that’s perfect for artists of all levels.
- They offer endless opportunities for creativity, from intricate details to bold outlines.
- Learning to draw guitars can help improve your overall artistic skills, especially in proportions and shading.
Plus, who doesn’t love the idea of creating something as iconic as a guitar? Whether you’re sketching an acoustic or an electric, the possibilities are endless. So, let’s get started with the basics!
Guitar Anatomy 101: Know Your Instrument Before You Sketch
Before you put pencil to paper, it’s crucial to understand what you’re drawing. Guitars may look simple at first glance, but they’re actually complex instruments with several key components. Here’s a quick breakdown:
- Adriana Lima In The 2000s The Rise Of An Icon
- Harlee Mcbride The Rising Star Shaping The Future Of Entertainment
- Headstock: The top part of the guitar where the tuning pegs are located.
- Fretboard: The long strip where guitarists press down on strings to create different notes.
- Body: The main part of the guitar, which can be hollow (acoustic) or solid (electric).
- Bridge: The part where the strings are anchored to the body.
Understanding these parts will help you create more accurate and detailed sketches. Think of it like learning the lyrics to your favorite song—it’s all about the details!
Tools You’ll Need for Guitar Drawing
You don’t need a fancy setup to start drawing guitars. In fact, most of the tools you’ll need are probably already lying around your house. Here’s what you’ll need:
- A good pencil (HB or 2B works great for beginners).
- Erasers for those inevitable mistakes.
- Pencil sharpeners to keep your lines sharp and clean.
- Graphite pencils for shading if you want to add depth to your sketches.
- Paper—any type will do, but smoother paper works best for detailed drawings.
Remember, the goal isn’t to spend a fortune on supplies but to focus on honing your skills. So, don’t stress too much about having the "perfect" tools—just start creating!
Step-by-Step Guide to Drawing a Guitar
Now that you know what you’re drawing and what tools you’ll need, let’s dive into the actual process. Here’s a step-by-step guide to help you create a stunning guitar sketch:
Step 1: Sketch the Basic Shape
Start by drawing the overall shape of the guitar. For an acoustic guitar, think of it as a teardrop with a smaller circle in the middle. For an electric guitar, focus on the sleek, angular design. Don’t worry about perfection at this stage—just get the basic outline down.
Step 2: Add the Fretboard
Once you’ve got the body shape, it’s time to add the fretboard. Draw a long rectangle extending from the body, making sure it’s proportional to the rest of the guitar. This will serve as the foundation for the neck.
Step 3: Detail the Headstock
At the top of the fretboard, sketch the headstock. This is where the tuning pegs will go, so make sure it’s large enough to accommodate them. You can add as many or as few pegs as you like, depending on the type of guitar you’re drawing.
Step 4: Refine the Body
Now it’s time to refine the body of the guitar. Add curves, cutaways, and any other details that define the specific model you’re sketching. For electric guitars, this might include pickguards or pickups. For acoustics, focus on the soundhole and bridge.
Step 5: Shade and Add Texture
Once your outline is complete, it’s time to bring your guitar to life with shading and texture. Use graphite pencils to add depth, paying attention to areas like the fretboard, body, and headstock. This step can make or break your sketch, so take your time!
Tips and Tricks for Perfecting Your Guitar Drawing
Even the best artists started as beginners. Here are a few tips to help you improve your guitar drawing skills:
- Study real guitars to understand their proportions and details.
- Practice sketching different types of guitars to diversify your portfolio.
- Don’t be afraid to make mistakes—they’re all part of the learning process.
- Use reference images to guide your sketches, especially when working on complex details.
Remember, practice makes perfect. The more you draw, the better you’ll get. So, don’t get discouraged if your first few attempts don’t turn out exactly as you hoped. Keep going, and you’ll see improvement in no time!
Common Mistakes to Avoid in Guitar Drawing
Even with the best intentions, mistakes happen. Here are a few common pitfalls to watch out for:
- Proportion Issues: Make sure the headstock, neck, and body are all in proportion to each other. A guitar with a disproportionately large headstock won’t look right.
- Ignoring Details: Guitars are full of intricate details, so don’t overlook them. Adding elements like fret markers or pickup covers can make a huge difference.
- Overcomplicating: Sometimes less is more. Don’t overload your sketch with unnecessary details—focus on what makes the guitar unique.
By avoiding these common mistakes, you’ll be well on your way to creating guitar sketches that rock!
Advanced Techniques for Guitar Drawing
Once you’ve mastered the basics, it’s time to level up your skills. Here are a few advanced techniques to try:
1. Perspective Drawing
Try sketching guitars from different angles to add depth and dimension to your work. This can be challenging, but it’s a great way to improve your skills.
2. Color and Texture
Experiment with colored pencils or markers to add vibrant colors and textures to your sketches. This can make your guitars look even more realistic.
3. Digital Tools
If you’re comfortable with digital art, consider using software like Procreate or Adobe Illustrator to create your guitar sketches. These tools offer endless possibilities for customization and detail.
Exploring Different Styles of Guitar Drawing
Guitar drawing isn’t limited to one style. Here are a few different approaches to try:
- Realistic: Focus on creating lifelike sketches with attention to detail.
- Cartoonish: Add a fun, playful twist to your guitars with exaggerated features.
- Abstract: Break away from traditional forms and create something truly unique.
The beauty of art is that there’s no right or wrong way to do it. Experiment with different styles until you find what works best for you!
Conclusion: Keep Strumming Your Creative Strings
So there you have it—everything you need to know to start your guitar drawing journey. Whether you’re a beginner or a seasoned artist, the world of guitar sketching offers endless opportunities for creativity and growth. Remember, the key is to keep practicing and having fun with it.
Now it’s your turn to take action. Grab your pencil, pick a guitar model, and start sketching. Share your creations with the world, and don’t forget to check out more articles on our site for inspiration. Happy drawing, and rock on!
Table of Contents
- Why Guitar Drawing Rocks: Understanding the Appeal
- Guitar Anatomy 101: Know Your Instrument Before You Sketch
- Tools You’ll Need for Guitar Drawing
- Step-by-Step Guide to Drawing a Guitar
- Tips and Tricks for Perfecting Your Guitar Drawing
- Common Mistakes to Avoid in Guitar Drawing
- Advanced Techniques for Guitar Drawing
- Exploring Different Styles of Guitar Drawing
- Conclusion: Keep Strumming Your Creative Strings
Article Recommendations
- Discover The Enchantment Magic Kingdom Photos That Bring Disney Dreams To Life
- Soccer Player Kicking Ball The Art And Science Behind The Perfect Strike


Detail Author:
- Name : Keara Murphy
- Username : tlittel
- Email : orville87@hotmail.com
- Birthdate : 1973-09-21
- Address : 489 Abigale Forks Suite 225 South Heber, OH 50018-5878
- Phone : +1-985-221-6831
- Company : Jast-Kshlerin
- Job : Film Laboratory Technician
- Bio : Aperiam magnam dolores illum ad est debitis. Enim vel quia eos. Distinctio culpa quo harum voluptas qui.
Socials
facebook:
- url : https://facebook.com/dexter7599
- username : dexter7599
- bio : Nesciunt id est est aperiam. Animi molestias aut officiis recusandae.
- followers : 4308
- following : 1756
tiktok:
- url : https://tiktok.com/@dexter1063
- username : dexter1063
- bio : Quasi quod nihil praesentium vero explicabo.
- followers : 3558
- following : 56
