
Revolutionizing Your Kitchen: The Ultimate Guide To Recipe Picture Mastery
Let’s face it, folks—recipe pictures are the real MVP in today’s foodie world. From drool-worthy Instagram posts to step-by-step tutorials, a good recipe picture can make or break your culinary adventure. Whether you’re a pro chef or just someone trying to up their kitchen game, understanding how to nail that perfect recipe picture is crucial. So, grab your camera—or your phone—and let’s dive into this visual feast together.
You might be thinking, why does a recipe picture even matter? Well, here’s the deal: we eat with our eyes first. A poorly lit or blurry image of your lasagna can turn even the most delicious dish into a snooze fest. But a well-crafted, vibrant recipe picture? That’s a game-changer. It’s like giving your food the red carpet treatment it deserves.
And hey, let’s not forget the internet. Platforms like Pinterest, TikTok, and Instagram thrive on visual content. If you want your recipe to go viral or get noticed by the masses, mastering the art of recipe photography is non-negotiable. So buckle up, because we’re about to deep-dive into everything you need to know about creating killer recipe pictures.
- Ryan Shawhughes The Rising Star Whos Taking The World By Storm
- Girls Showering A Comprehensive Guide To Understanding The Routine Benefits And Privacy
Understanding the Basics of Recipe Picture
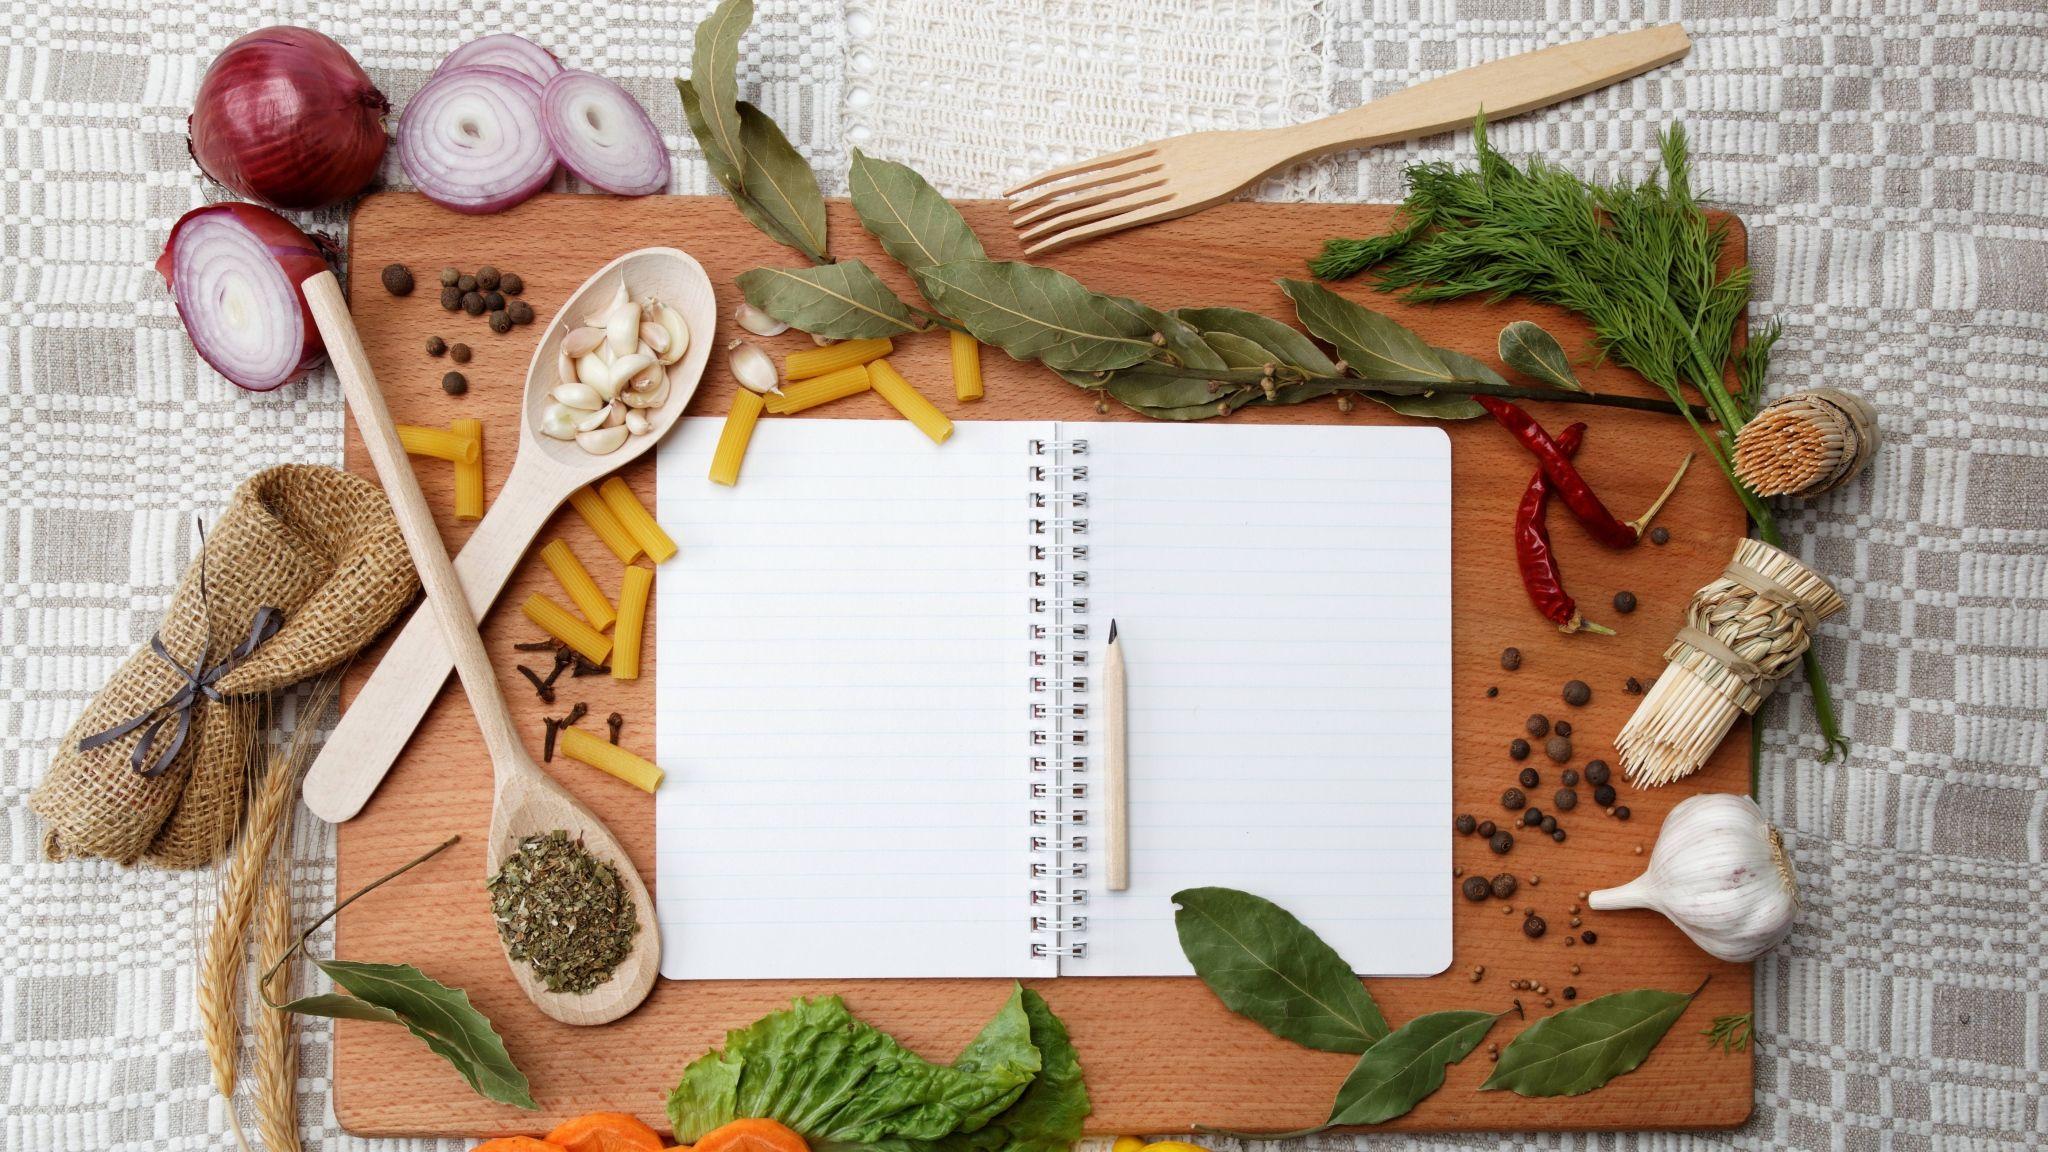
Before we jump into the nitty-gritty, let’s break down what makes a great recipe picture stand out. It’s not just about snapping a quick photo of your dish. There’s an entire science—and art—to it. Think lighting, composition, props, and even the angle you shoot from. All these elements play a huge role in how your final picture turns out.
For starters, natural lighting is your best friend. Who needs expensive studio lights when you’ve got the sun? Positioning your dish near a window can instantly elevate its look. And don’t forget about the rule of thirds. Imagine your frame divided into nine equal parts and place your main subject along those lines. Trust me, it works wonders.
Why Recipe Picture Matters in Today’s Food Culture
Food culture has evolved dramatically over the years, and recipe pictures have become a cornerstone of this transformation. Back in the day, recipes were all about text and maybe a tiny, grainy photo at best. But now? Now it’s all about the visual storytelling. A recipe picture can tell so much more than just how a dish looks—it can convey mood, culture, and even nostalgia.
- Bending Over The Ultimate Guide To Mastering Flexibility And Strength
- Adolfo Angel The Man Who Turned Passion Into Purpose
Take social media, for example. Scrolling through your feed, which recipe are you more likely to click on? The one with a dull, unappealing image or the one that looks like it was styled by a pro? Exactly. That’s why investing time and effort into your recipe pictures is worth every second.
Choosing the Right Equipment for Recipe Picture
Now, let’s talk gear. You don’t need a fancy DSLR camera to take amazing recipe pictures. In fact, most smartphones these days have cameras that rival professional ones. But if you do have access to a good camera, go for it. The key is knowing how to use whatever equipment you have to its fullest potential.
Here’s a quick rundown of essential tools:
- A decent camera or smartphone with a good camera app.
- A tripod to keep your shots steady.
- Reflectors or white boards to bounce light and reduce shadows.
- A variety of backdrops and props to add interest to your shots.
And remember, it’s not about the gear—it’s about how you use it. Even the fanciest camera won’t save a poorly composed shot.
Smartphone vs. DSLR: Which One Reigns Supreme?
This is a debate that could go on forever. Both options have their pros and cons. Smartphones are portable, easy to use, and most people already have one. DSLRs, on the other hand, offer more control over settings like aperture, ISO, and shutter speed. But honestly? It’s all about what works best for you and your style of shooting.
Mastering Lighting for Recipe Picture
Lighting is hands down the most important factor in recipe photography. Without proper lighting, even the most beautifully styled dish can look flat and unappealing. So how do you master it? Start by experimenting with different light sources.
Natural light is king, but sometimes it’s not always available. That’s where artificial lights come in. Ring lights, softboxes, and even regular desk lamps can help fill in the gaps. Just make sure to avoid harsh shadows and overexposure.
Top Tips for Perfect Recipe Picture Lighting
Here are a few tricks to help you nail that lighting:
- Shoot during golden hour—the hour after sunrise or before sunset—for that warm, soft glow.
- Use reflectors to bounce light onto your dish and reduce harsh shadows.
- Avoid using the flash on your camera—it can create unwanted glare and harsh lighting.
And don’t underestimate the power of editing. Apps like Lightroom or Snapseed can help you tweak the lighting and enhance your recipe pictures without going overboard.
Composition Techniques for Recipe Picture
Composition is where the magic happens. It’s all about how you arrange the elements in your frame to create a visually appealing image. Think of it like painting—but with food. There are several techniques you can use to elevate your recipe pictures:
The rule of thirds, leading lines, symmetry, and framing are just a few examples. Experiment with different angles too. Shooting from above can give a great overview of a dish, while shooting at eye level can add depth and dimension.
How to Use Props to Enhance Your Recipe Picture
Props can make or break a recipe picture. They add context and tell a story. For example, a wooden cutting board, fresh herbs, or a stack of pancakes with syrup drizzled on top can instantly make your image pop. Just be careful not to overcrowd the frame—less is often more.
Editing Your Recipe Picture
Editing is the final step in creating a stunning recipe picture. Even the best photographers rely on editing to perfect their shots. Apps like VSCO, Adobe Lightroom, and Snapseed offer a range of tools to adjust brightness, contrast, saturation, and more.
But remember, editing should enhance your image, not alter it completely. The goal is to make your food look as delicious in the picture as it does in real life.
Best Editing Tools for Recipe Picture
Here’s a list of some popular editing tools:
- Adobe Lightroom: Perfect for both beginners and pros.
- VSCO: Great for adding filters and fine-tuning details.
- Snapseed: Offers advanced tools for cropping, sharpening, and more.
Experiment with different apps to see which one works best for your style.
Trends in Recipe Picture
Just like fashion, recipe photography has its own trends. From minimalist setups to maximalist chaos, there’s something for everyone. But one trend that’s here to stay is authenticity. People love seeing real, imperfect moments in food photography. It makes the dish feel more approachable and relatable.
Another trend is storytelling. Instead of just showing the final dish, consider including process shots. Show the ingredients, the prep work, and the final result. It adds a layer of depth and engagement to your recipe pictures.
How to Stay Ahead of Recipe Picture Trends
Staying ahead of trends means keeping an eye on what’s popular. Follow food photographers on social media, join photography groups, and attend workshops. The more you expose yourself to different styles, the more you’ll learn and grow.
Common Mistakes to Avoid in Recipe Picture
Even the best photographers make mistakes. The key is learning from them. Some common recipe picture mistakes include poor lighting, overcrowded frames, and over-editing. Avoid these pitfalls by practicing and seeking feedback from others.
And don’t forget to have fun with it. Recipe photography should be enjoyable, not stressful. If you’re not having fun, your audience won’t either.
How to Overcome Recipe Picture Challenges
Every photographer faces challenges. Whether it’s dealing with tricky lighting or finding the right props, there’s always something to improve. The best way to overcome these challenges is through practice and persistence. Keep shooting, keep learning, and most importantly, keep experimenting.
Conclusion: Taking Your Recipe Picture to the Next Level
So there you have it, folks—a comprehensive guide to mastering recipe pictures. From understanding the basics to staying ahead of trends, we’ve covered it all. Remember, the key to great recipe photography is practice, patience, and passion. Keep pushing your limits and exploring new techniques.
And hey, don’t forget to share your amazing recipe pictures with the world. Whether it’s on social media, your blog, or just with friends and family, showing off your hard work is half the fun. So go out there, grab your camera, and start creating those foodie masterpieces. Your followers—and your taste buds—will thank you.
Table of Contents
- Understanding the Basics of Recipe Picture
- Why Recipe Picture Matters in Today’s Food Culture
- Choosing the Right Equipment for Recipe Picture
- Smartphone vs. DSLR: Which One Reigns Supreme?
- Mastering Lighting for Recipe Picture
- Top Tips for Perfect Recipe Picture Lighting
- Composition Techniques for Recipe Picture
- How to Use Props to Enhance Your Recipe Picture
- Editing Your Recipe Picture
- Best Editing Tools for Recipe Picture
- Trends in Recipe Picture
- How to Stay Ahead of Recipe Picture Trends
- Common Mistakes to Avoid in Recipe Picture
- How to Overcome Recipe Picture Challenges
Article Recommendations
- Girl Diarrhea A Comprehensive Guide To Understanding And Managing It
- Maria Sharapova Legs The Story Behind The Iconic Tennis Stars Powerful Asset

Detail Author:
- Name : Maybelle Bruen
- Username : aditya.dubuque
- Email : darby23@hotmail.com
- Birthdate : 2005-10-12
- Address : 1556 Wolff Summit New Wayneland, MN 73937-2199
- Phone : (283) 300-9154
- Company : Funk, Adams and Keeling
- Job : Physical Therapist
- Bio : Sunt ut esse amet ex fuga cum et et. Ipsa qui consequatur rerum cumque distinctio.
Socials
facebook:
- url : https://facebook.com/hyatt2012
- username : hyatt2012
- bio : Commodi maxime impedit quae at modi et. Maxime sunt et quo laboriosam deleniti.
- followers : 999
- following : 1731
twitter:
- url : https://twitter.com/dariana.hyatt
- username : dariana.hyatt
- bio : Accusamus ullam itaque mollitia dicta. Perspiciatis rem voluptas expedita sint non. Error voluptatem porro tenetur exercitationem est deleniti ducimus.
- followers : 4876
- following : 1615
